Sunday, March 31, 2013

Fall Retreat Early Booking Bonus

Hello!

Your friends at ScrapMuch? just wanted to wish you all a Happy Easter Sunday! 

And since we have you here, we might as well share some fun news!  We have just secured our dates for our annual Fall Retreat!  Woo Hoo!

And guess what?  We are having not 1 but 2 fabulous Fall Retreats!  Due to a high demand, and not wanting to turn our fellow scrappers away, we have booked two wonderful fall weekends at the  Elmhurst Inn Resort and Aveda Spa!

Here are all the details (but keep reading to the very end of this post for more good news).... 


November 22 - 24, 2013
November 29 - December 1, 2013
Our Fall Retreat is once again being held at the beautiful Elmhurst Inn Resort and Spa.  The  Inn is located only 40 minutes from Brantford in the town of Ingersoll.  Surrounded with acres of beautiful scenery, the Inn itself has elegant decor, freshly redecorated guest rooms and baths, complete with 2 queen beds and a warm atmosphere.   All rooms include complimentary access to the guest lounge, games room, fitness room, whirlpool, sauna and steam room so bring your bathing suit!  


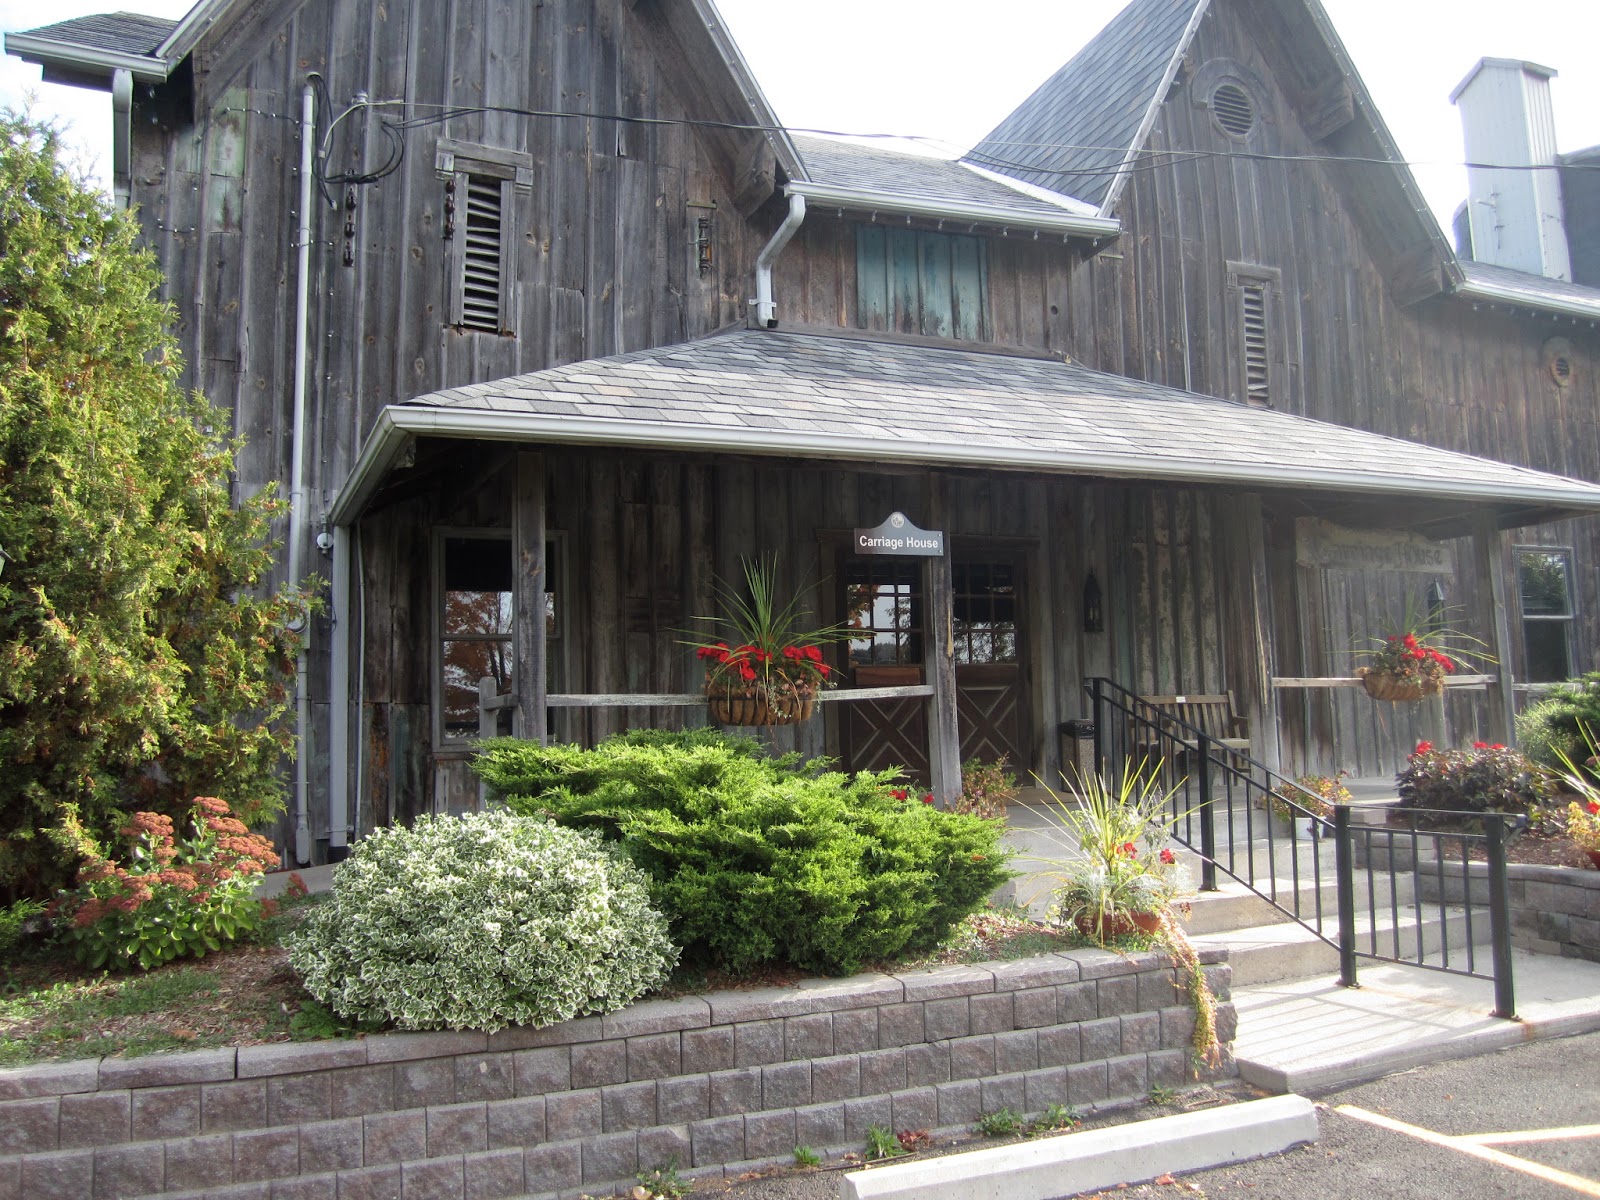
Join us for a fabulous Fall getaway weekend where you can enjoy 24-hour cropping in the quaint and rustic Carriage House building. You will receive fantastic goodie bags, full buffet meals, and deluxe accommodations. Our store will be set up on-site for your shopping convenience. 

The cost of the retreat is $325. +HST, all inclusive.   Spaces are limited and will be reserved on a first come first served basis.  To help you budget for this fantastic weekend, we are breaking down the cost into 3 payments.  A $100 deposit is required to reserve your spot.

To reserve your spot, please contact us by calling (905)730-2673 or email: scrapmuch@rogers.com   or visit our webstore.  Please be sure to state your weekend of preference upon booking.

Directions:
The Elm Hurst Inn and Country Spa is located in Ingersoll Ontario, Canada, at the junction of Plank Line Road and highway 401. It is nestled in a beautiful country setting amongst century old maple trees. Only 30 minutes of travel time take you to London or Stratford, where shopping and theatres are in abundance. The Ingersoll Golf and Country Club is minutes from our door. Toronto and Windsor are only 90 minutes away

Elm Hurst Inn & Country Spa
415 Harris Street, P. O. Box 123
Ingersoll, Ontario, N5C 3K1
Phone: 1-800-561-5321 or 519-485-5321
Fax: 519-485-6579 
Website: www.elmhurstinn.com
 
 
 As and early booking bonus, we will deduct $20.00 from your initial deposit!  But only until April 15th, 2013 - so don't delay book today!

We look forward to having you join us!
Your Friends at ScrapMuch?
 photo blogsignature_edited-1.png

Saturday, March 30, 2013

We are cropping next weekend, are you?

Hi there!

In case you hadn't heard, we are cropping next weekend!  Here are the details.....


Saturday April 6th
from 9am-5pm.  
Cost is $25+ tax

Bring your scrappy stuff and have a great day scrapbooking with friends.  
Our store will be set up on site.  
Lunch, snack, and beverage included. 
Email us at scrapmuch@rogers.com to reserve your space!
  
This event will be held at the Salvation Army Church in West Brant, Located at 33 Diana Ave, Brantford ON 

We will be offering not 1 but 2 great classes at the crop, have a look.....

double page layout class $12.75


Mini Album $15.00


 Aren't they super!  Are you joining us?   We sure hope so!

Thanks for visiting!
Elaine, Anita, Eileen and Laura

Friday, March 29, 2013

Sketch-y Friday Winner

Hi there!
 
I am just popping in quick to announce this month's Sketch-y Friday winner, but before I do, I wanted to thank everyone for playing along.  We really wish we could give a prize out to all of you!  But since we cannot, we wanted to share a couple of the fabulous entries we have had this past month.....

by Nancy R


by Karen J
Thank you for playing along ladies, please feel free to grab our 'I was featured at ScrapMuch?' blinkie from the sidebar!
 
As always this week's winner was determined by a random draw.  Here is a sample of our winner's work...

by Jofil
Congratulations Jofil! Thank you for linking up your beautiful creations with us.  Email us here to claim your prize.  And grab your "I won at ScrapMuch?" blinkie from the sidebar!

Thanks again to everyone that played along.  We hope you join us again for April's  sketch challenge. which starts a week today!

Thanks for visiting!


 photo blogsignature_edited-1.png

Thursday, March 28, 2013

March Colour Challenge Winner

Hello!

Our February colour challenge drew to a close on Monday night.   And yes I am a little late posting a winner but, before I do  announce the winner (do you feel the suspense?), I wanted to share an entry layout with you.

 Karen's layout is so pretty and uses the challenge colours to perfection!  Thanks Karen for sharing this with us.  Go ahead and grab a "I was featured at ScrapMuch" button form the left hand side bar.

Our March challenge winner is Sandy Ross, this month!  Congratulations!  Email us here to claim your prize.  And grab your "I won at ScrapMuch?" blinkie from the sidebar!

Thanks to everyone that played along.  We hope you join us again for April's  Colour Challenge, which will be released next Monday March 8th!

Thanks for visiting!


 photo blogsignature_edited-1.png

Inspiration on Thursday

Hi there!

Here is your weekly dose of inspiration......


 .... two gorgeous and colourful layouts by Elaine!  I can totally feel spring in these layouts, can you?

We would really love to see what you are creating this week. Leave us a comment with your blog address (or other link) ... we will be sure to stop by and leave you some love.  Also, don't forget you can email anything you wish to share, to me here, to have them shown off on our Thursday blog posts.   We would love to share your creations and our readers would love to see them!


 photo blogsignature_edited-1.png

Wednesday, March 27, 2013

Gift Bag Topper - Tutorial Wednesday

Hi there!

I have a fun and easy little tutorial to share with you today, to gussy up a plain gift bag, and to stop any peekers!


Isn't it cute?
 First you are going to start with a piece of decorative paper, that measures  1 inch wider and longer than the opening of your gift bag.  Score at the 1 inch mark along all 4 sides.

 Now snip into one side at each corner, just to where your score lines meet.


Now we need to create a space for the handles to go through, so measure how far your handles are from the edge of the bag.

 Now starting at your score line, use a ruler and craft knife to create a slot for your handles to fit into.  You will start at the measurement you previously determined.  Your slit should be about 1/8th inch thick.

 Now fold over and adhere your corners together.

 Cut and punch two pieces of coordinating paper, that measure 1 and 1/4 inches (after punching) by the length plus the width of the bag. Score so that they will bend into the corner of your box top.

 Fit your lid onto your bag!

 Go ahead and glam it up as you like.  I created this tag to add using bits and pieces from my leftover die cuts bin.

 Thanks for visiting!
 photo blogsignature_edited-1.png

Tuesday, March 26, 2013

Kit Club Tuesday

Hi there Kit Clubbers!

It is our goal to show you just how many great projects you can create with your monthly kit, last week we shared a sample based on this month's Kit Club sketch!  And this week we have another great sample to show you, that was alsocreated with this month's kit!

You can see that Eileen twisted the sketch to give it a completely new look, when she created this fabulous layout of herself!

Don't forget you have until April 15th to play along with the Kit Club Sketch.

Thanks for visiting!
 photo blogsignature_edited-1.png

Monday, March 25, 2013

Kits for Sale!

Hello,

We have some new kits for sale.  These kits were recent classes at our latest retreat.  We made several extras as we knew that some of you that could not join us would be interested in them!

We now have a new Kit's for Sale section on our blog, where you will find all of the latest kits for sale!  Once the kit is sold out, we will keep the photo up so you can use it as a guide to create your project.


 Spring Retreat Card Class #1  $20.00

 Spring Retreat Card Class #2  $20.00

  Spring Retreat Mini Album $15.00

 Spring Retreat Real Life Layout & Card Class  $15.00

 Spring Retreat spring Themed Class $20.00

 
Spring Retreat Sunny Days 2 Double Layout Class $25.00

Thank you for visiting and have a lovely day!
Elaine, Anita, Eileen and Laura

Friday, March 22, 2013

Sketch-y Friday

Hi there and happy Friday!

We are heading off for our weekend retreat today, and being joined by several dozen of our scrappy friends!  It is going to be great!

We hope you have some scrappy time this weekend and we have a new sketch to share with you today, so hopefully you play along and link up!   This is the fourth and final sketch for March.

 
 It is Elaine's turn to create a sample for you, have a look!

This is a great sample of how to use Blissful Blizzard by  Fancy Pants in a non wintery way.

Now it's your turn!  Play along and share it with us!

Here is a run down of the rules.  We are offering a little prize to one lucky scrapper that participates in at least 2 of this month's 4 sketches.  Just link up your creations at the bottom of each Sketch-y Friday post, all qualifying scrappers will be entered into a random draw for a prize.  Only one entry per sketch please.  You have until Thursday March 28th at midnight to participate in any of March's sketch challenges, each linkup tool will remain open until that date!  But remember, you must play along with 2 different sketches for a chance to win!  (International participants may be required to pay some shipping fees. )

Thanks for visiting!
Laura
xoxo


Thursday, March 21, 2013

Inspiration on Thursday,

Hi there!

We are looking forward to our weekend of cropping, hopefully you are joining us.  But, if you can't, hopefully you will still have some time to create over the weekend!

Here is your weekly dose of inspiration......


....compliments of Elaine!  Love the tearing on the first layout and the jumbo butterflies on the second!

And if that is not inspiration enough, guess what is coming out tomorrow?  Did you guess the latest issue of Scrapbook & Cards Today?  Then you are correct!  Check out this fabulous cover......


Isn't this perfect time for us retreaters?  I know what I will be doing first, I call it research! he he!

We would really love to see what you are creating this week. Leave us a comment with your blog address (or other link) ... we will be sure to stop by and leave you some love.  Also, don't forget you can email anything you wish to share, to me here, to have them shown off on our Thursday blog posts.   We would love to share your creations and our readers would love to see them!

Thanks for visiting!
Anita, Elaine, Eileen and Laura

Wednesday, March 20, 2013

Gift Bag- A Tutorial

Hi there!

 I have a new tutorial to share today.  We are going to make this cute little gift bag, perfect for those situations when you do not have just the right one on hand.


First of all, this works better with thinner papers as opposed to really heavyweight card stock.
 I have started with a piece of paper measuring 9" x 12".   Working along the 12" length, score at 3" and 8.5", and fold each side toward the centre.  This will give you an overlap seam where you can add the adhesive. 
Also score at 1.5" along the entire width of the paper.  This will create a bottom for your bag.
 Folding your paper towards the centre at the 2 score points, adhere your back seam together.

 
 Working at the bottom of your bag, open up the end and fold the sides inward, as shown.  
 Now fold the bottom flap up so that it overlaps the gap in the middle.

 Fold the top flap down so that it overlaps the bottom flap, close the gap using adhesive.
 Next up, I punched along the top of the bag, this is optional, but pretty.
 
 Take two scraps of cardstock measuring about 1/4" shorter than the width of your bag.  Punch holes at either end.

Thread ribbon through the holes to become the handles of your gift bag.  Secure the ribbon, and adhere the cardstock strips inside your bag.


Add gift and you are done!

Thanks for visiting! 

  photo blogsignature_edited-1.png